Navigate the Books > Settings and inside the “Book Layout” tab, click on the “Purchase Links” link at the top.
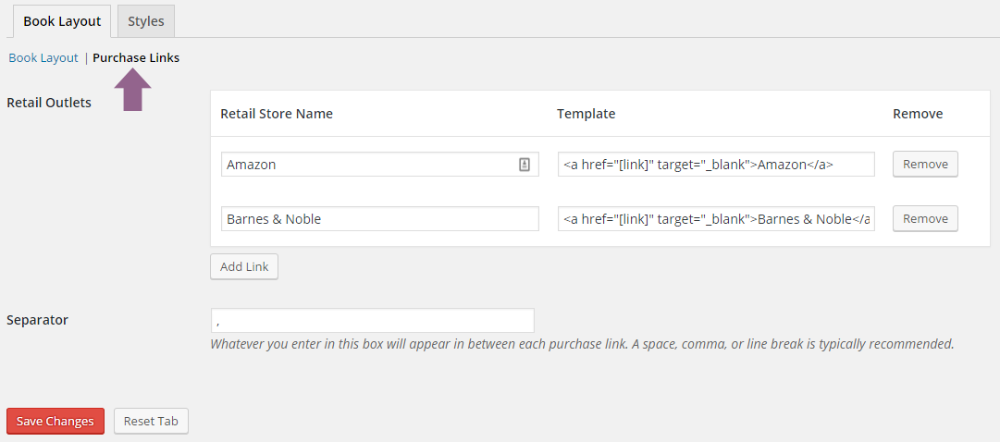
This is where you can set up the retail sites you want to submit purchase links for. You need a new entry for each link you’d like to add in a book. Simply click “Add Link” to add a new entry. Then enter the store’s name and the template you want to use on the public-facing book page. Use the shortcode [link] as a placeholder for the purchase link URL. This will be replaced with whatever you enter on the Add/Edit Book page.
The “Separator” box is for entering what you want to appear in between each retail site. This is typically a comma and a space (for a comma-separated list of purchase sites), or perhaps a line break (enter <br> ).
In order to display the purchase links with the book information, you also need to make sure the field is enabled. Click “Book Layout” at the top go to back to the main book layout page. Make sure the field for “Purchase Links” is inside the “Your Layout” area. This will ensure that the field is enabled and will display the links on the public book page.
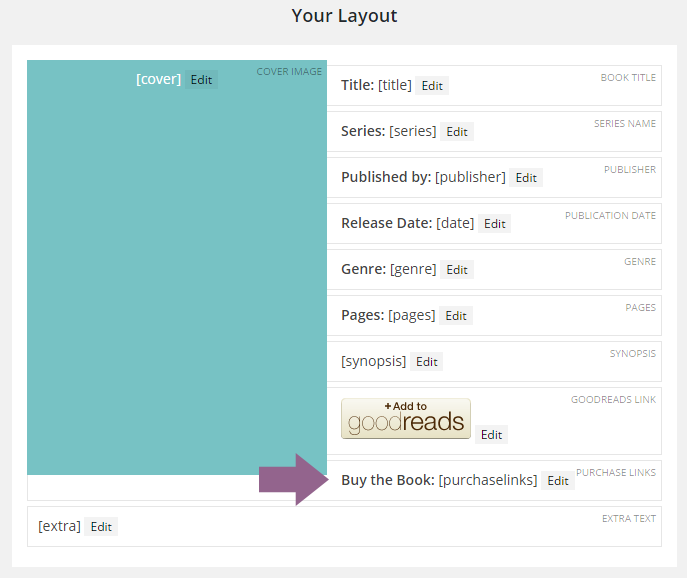
You can click “Edit” to change the template. See the article on Customizing the Book Layout for more details. The main thing you need is the [purchaselinks] shortcode somewhere in there. This will get converted to the list of your retail sites.
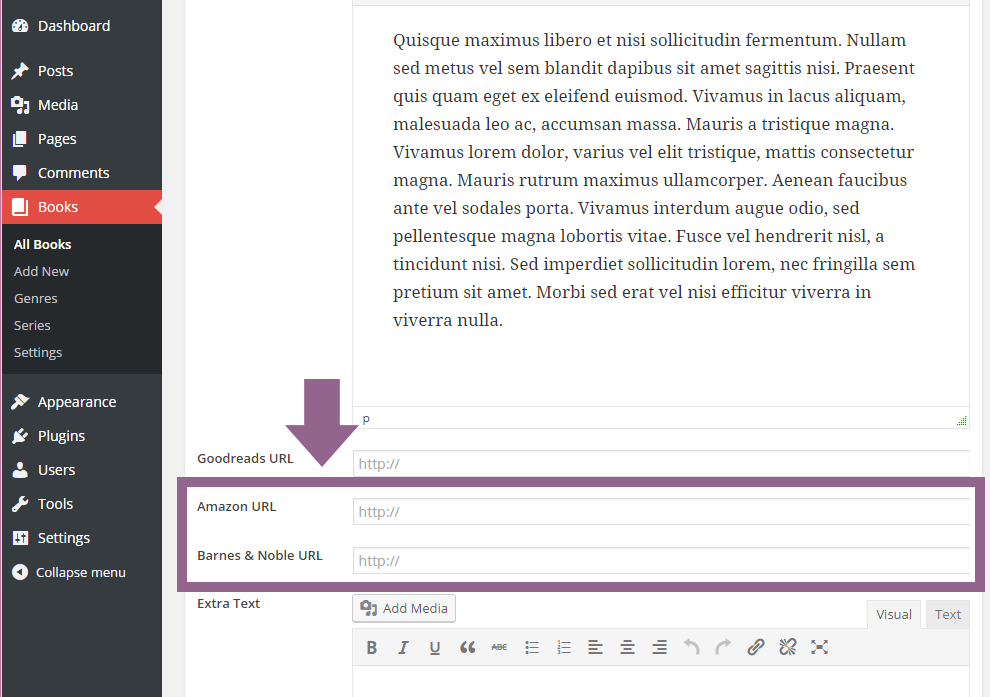
Finally, the last step is to add/edit a book and insert the purchase link URLs.
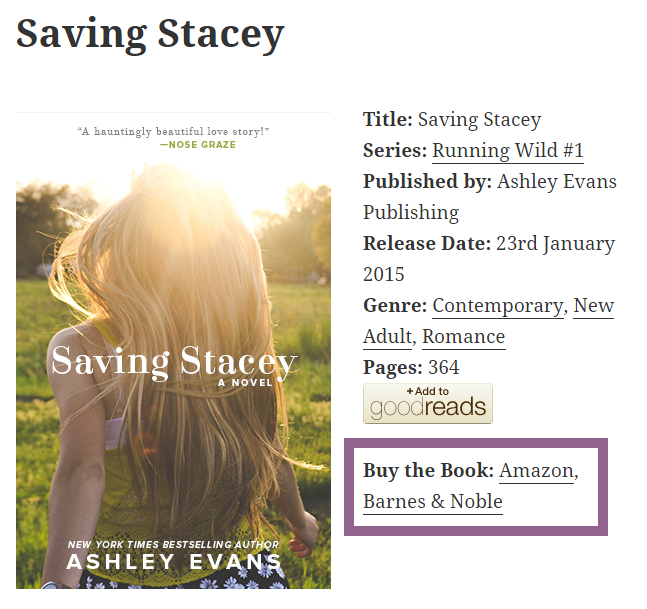
Once the URLs have been entered, you can preview your book and see them appear on the page.