After installation, the add-on should have automatically created a new page called “Author Directory” and set this as the designated directory page in your settings. If this wasn’t created, then it can always be created manually.
- Create a new page in Pages » Add New.
- Title it whatever you like.
- Add the shortcode [novelist-author-directory] to the page content.
- Save the page.
- Go to Novelist » Settings » Add-Ons » Authors and scroll down to the directory settings. Choose your new page as the designated author directory.
- Save the settings.
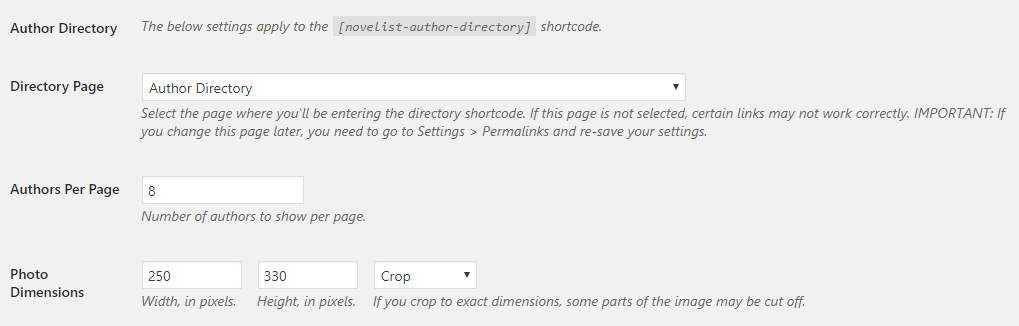
There are two other settings you can configure: the number of authors to show per page and the dimensions of the author photos.
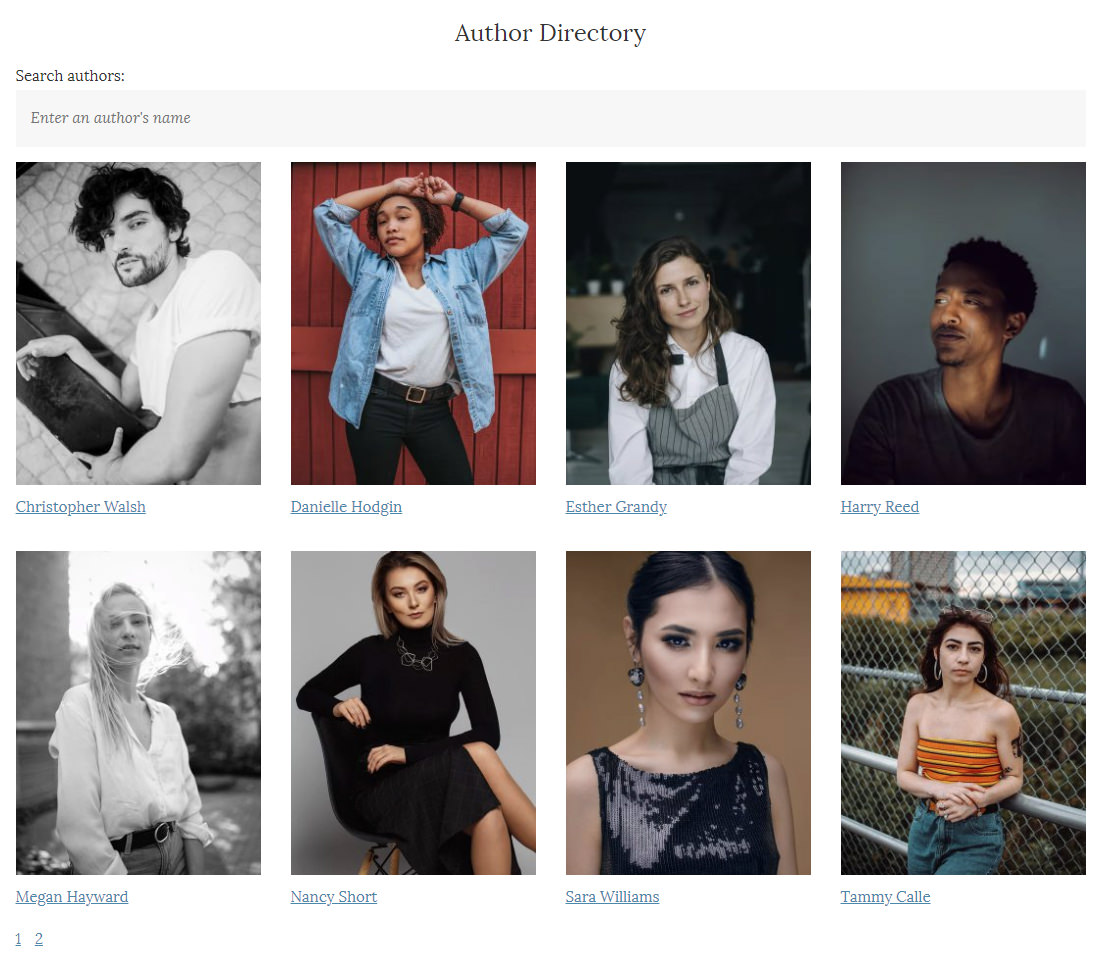
Once your directory has been created, all authors you add will appear in the directory automatically. Each author also has his or her own profile page, which can be viewed by clicking on the individual author’s name.