
Events are stored and managed in the “Events” menu in the WP Admin area. Click Events > Add New to add a new event.
There are a few boxes you can fill out to add details to your event.
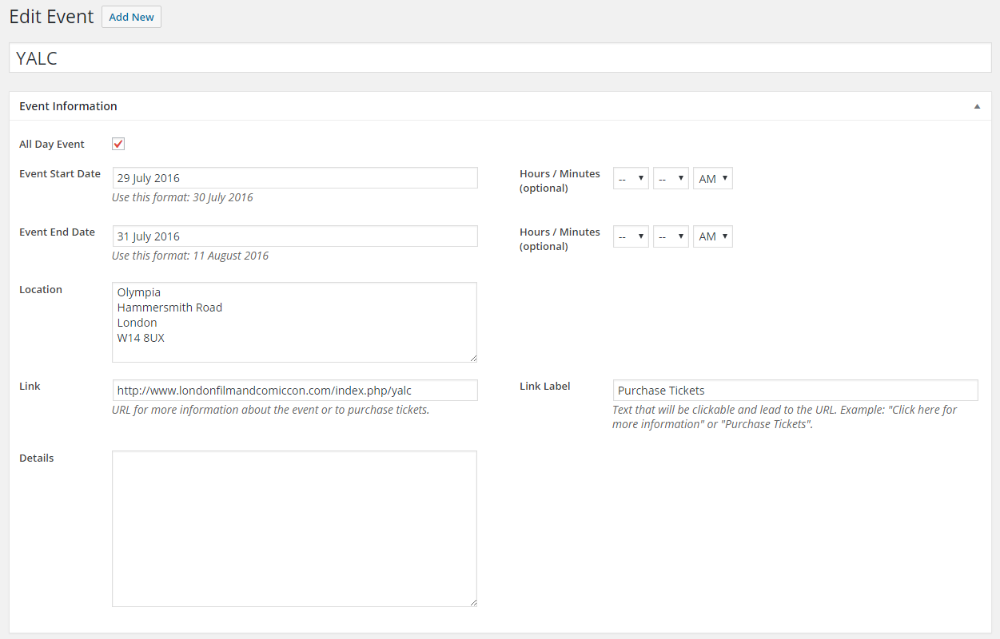
- All Day Event – Check this to mark the event as ‘all day’. If you check this, any hours/minutes you enter will be ignored. This setting is primarily used in the [novelist-events-calendar] shortcode.
- Start Date – Enter the date the event starts, using this format: 1 June 2016. Do not use leading zeros on single digit days.
- Start Date Hours / Minutes – If your event begins at a certain time, you can choose the hours, minutes, and time of day from the dropdown boxes. If you do not wish to associate a time with the start date, leave the dropdowns set to “–“.
- End Date – Enter the date the event ends, using this format: 1 June 2016. Do not use leading zeros on single digit days.
- End Date Hours / Minutes – If your event ends at a certain time, you can choose the hours, minutes, and time of day from the dropdown boxes. If you do not wish to associate a time with the end date, leave the dropdowns set to “–“.
- Location – Enter the location/address of the event.
- Link – If you wish to include a link to ticket information or a purchase page, enter the URL here. It should be a URL only, starting with http:// or https://.
- Link Label – This is the text that will be turned into a hyper link leading to the URL previously entered. Examples may include, “Click here for more information” or “Purchase Tickets”.
- Details – Any extra information about the event. This is most commonly used in the modal popup window in the [novelist-events-calendar] shortcode.
After filling out all the details, click “Save” or “Update” on the right-hand side.