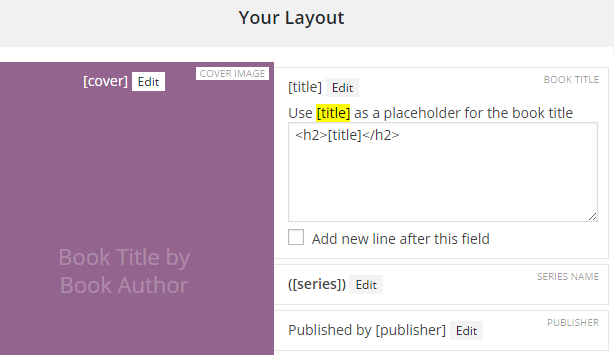
Step 1: Customize Your Book Template
Using the plugin's drag and drop builder, you can create your own consistent template for book pages.
Pick and choose which book information you want to display and drag and drop them into the order you want.
Each piece of book information can be customized to change the associated text.

Step 2: Set Up Your Purchase Links
You can configure your own retail sites. These are the sites you sell your books at and will provide links for on each individual book page.

Step 3: Add Your First Book
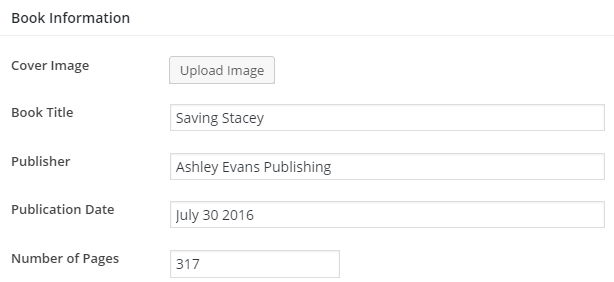
Novelist adds a new book management page to your admin area. You can create a new book in Books > Add New.
Adding a book is as simple as filling in a form. Enter the values for each piece of book information that you added in step 1.

Step 4: Check Out Your Book Page
Novelist creates the public book page for you automatically. You don't even have to format it yourself!
The page will contain all the information you entered via the form and will appear in the order you specified on the book template.
All books will have the same clear, consistent layout.

Step 5: Create an "All Books" Page
Novelist automatically creates an "all books" page for you at yoursite.com/books/
but you may want to create your own.
You can use the [novelist-books] shortcode to create a highly customizable grid of books.

Developer Friendly
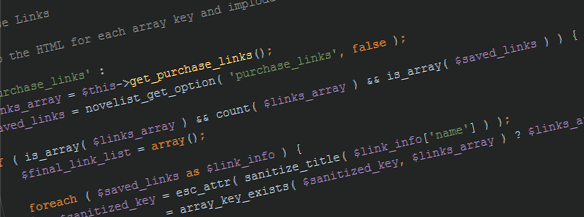
Novelist is designed to be extendable so designers and developers can easily add their own features and create more advanced templates.
The plugin code is well commented and there's an entire developers section in the documentation.
